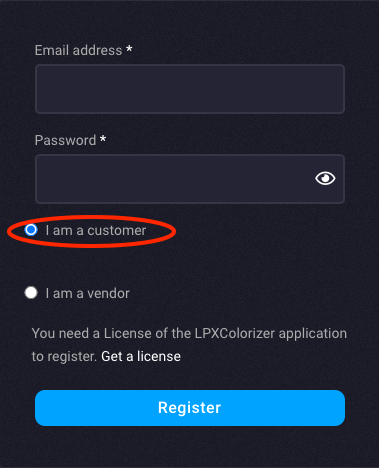
By default the registration form is set to “customer”. A customer account allows to buy themes but not to sell them. If you upgrade to a Vendor license later on you will be able to sell themes without having to create a new account.
The email you use to create your account needs to be the email you registered your Colorizer License with.
Creating a vendor account
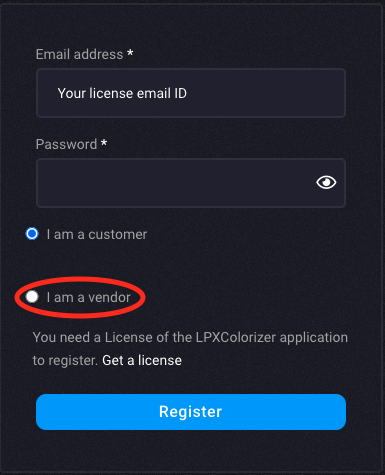
In order to sell themes on the store, provided you have a Vendor type License, please select the option “I am a vendor”. If you created a customer type account by mistake, do not delete it, you can apply to the vendor account type from your customer account settings.
The email you use to create your account needs to be the email you registered your Colorizer License with.
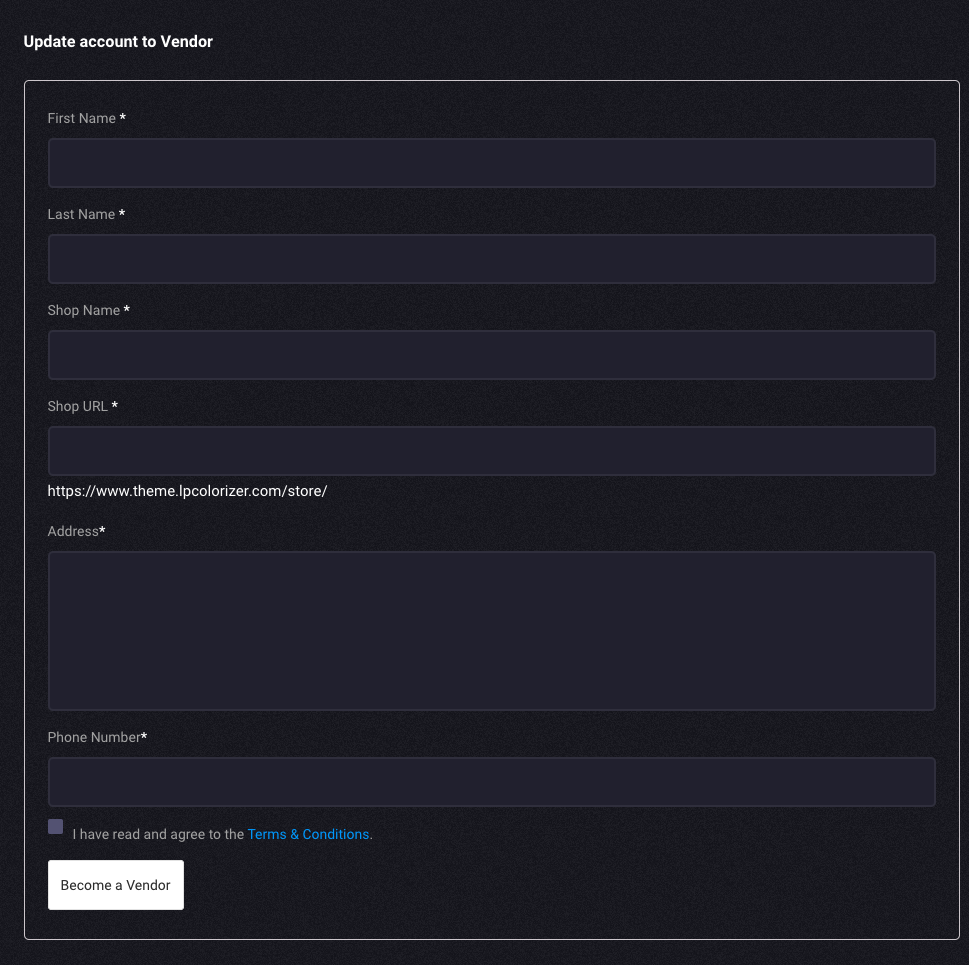
Opening a Vendor account will require the platform to have a little more information about you such as:
Name
Shop Name
A Shop URL (you will also be able to edit this later)
Address and phone number
All this information remains private.
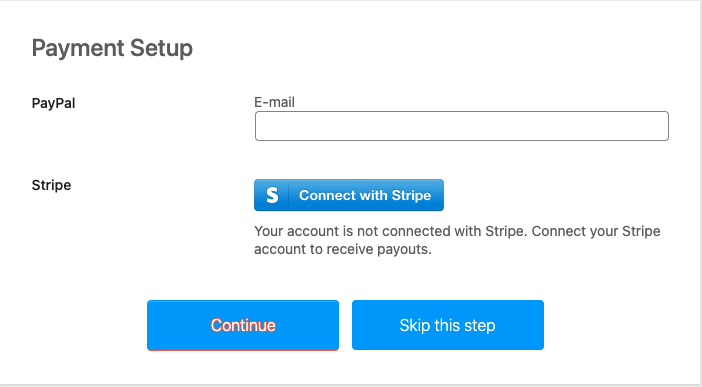
Next you will be asked for the invoicing information and to create a Stripe connect account. Stripe has become the prominent online payment processing software. If you have purchased something online over the past 5 years, it is very likely that in the back-end Stripe was processing your payment. All your banking information will therefore be entered and hosted at Stripe’s end for security and efficiency purpose. You may skip this step for now, but you won’t be able to receive your payout until you create your account. If you are looking to setup again your stripe connect account follow these steps.
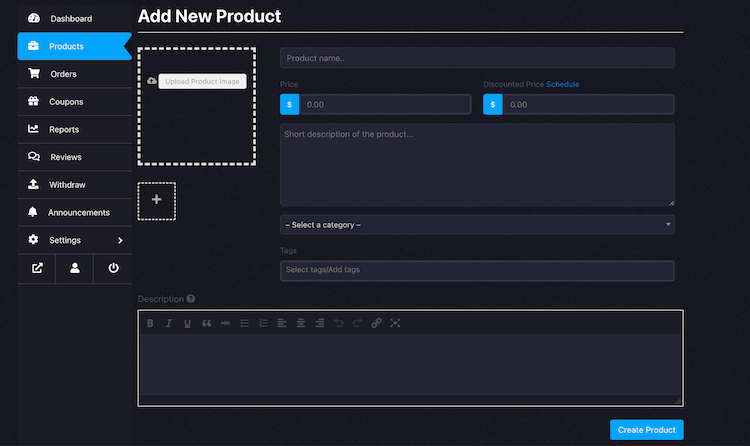
Adding Themes to your store
Once your account has been created you will be able to manage your store through your account section. (accessible via your profile image in the top right corner).
We advise to add multiple images of your theme for customer to have a clear idea of the theme rendering.
Set a value for:
– A selling price between $1 & $10 USD
– One or multiple tags (tags are key word that will help customer find your theme based on certain criteria right from a search engine).
– A category you see fit (Black, Bright, Contrast, Soft, Light, Dark, Medium).
– A short Description of your theme
– The name here does not matter as It will be overriden by the name of your exported theme file name.
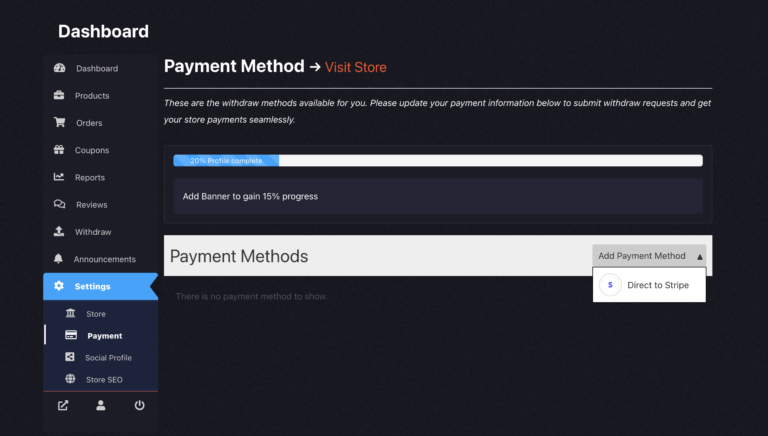
Receive payouts with Stripe Connect
We use stripe to process credit card payments on our websites, actually if you have bought your colorizer license with a credit card on creationauts.com your payment went through stripe at this time as well. In order to receive your payouts using the “withdrawal” function, you will have to create a “Stripe Connect” account. Through the process your will be prompted a page generated by the stripe service asking your for personal informations. All these information are encrypted and kept on Stripe’s databases, we will never have access to it. You can read more about Stripe connect and it’s security here.
To setup your account go to your Vendor Dashboard Payment Settings and select “Direct to Stripe” as your payment method.
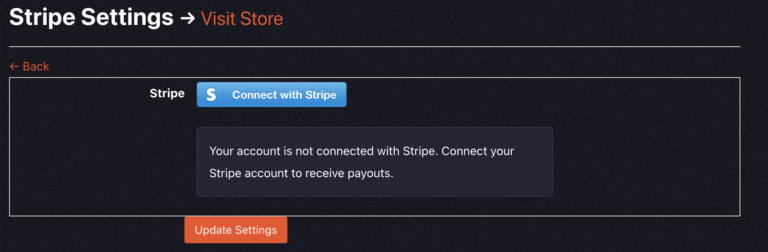
From the next page, click the “connect with Stripe” blue button.
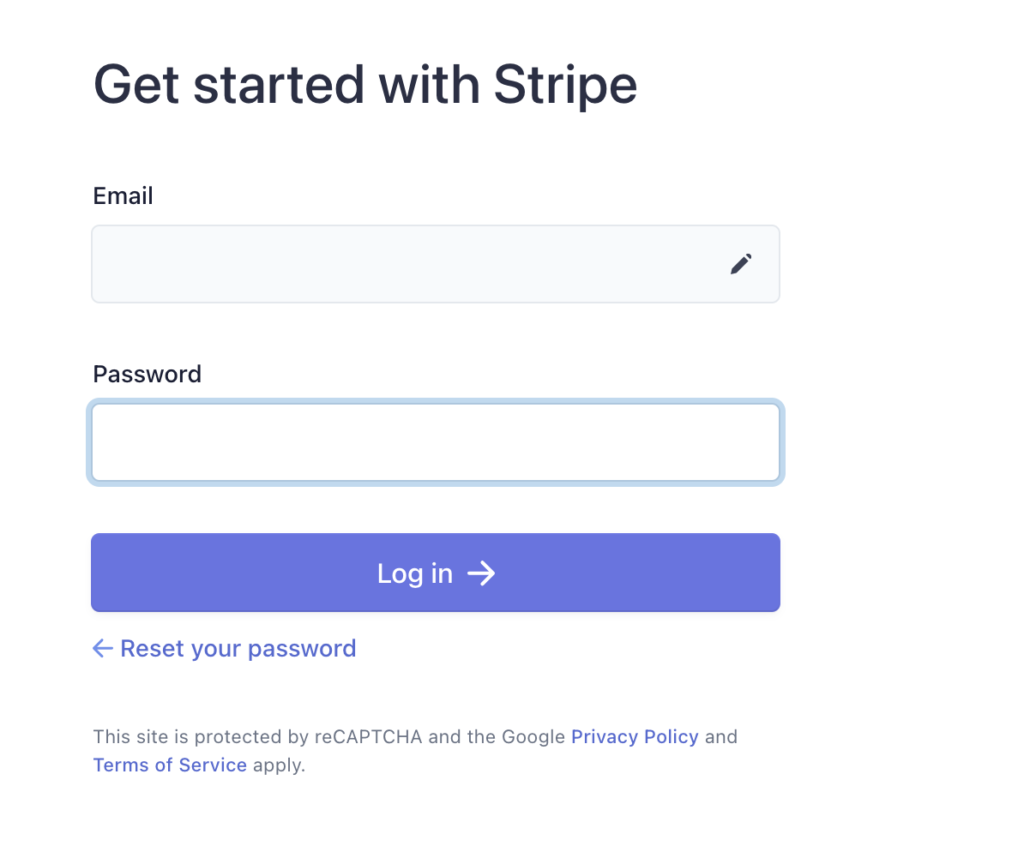
This will prompt the Stripe Connect registration form. Make sure to fill all the mandatory fields in order to finish your registration. Once done you will be able to claim your payout and your balance will be directly deposited to your banking account.
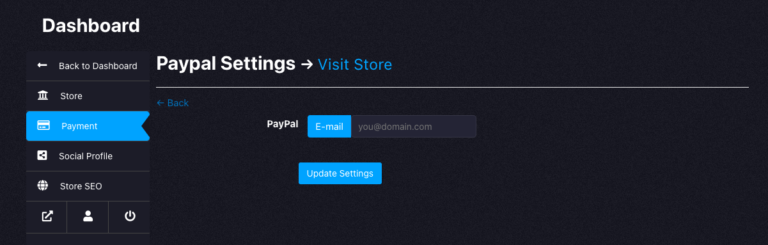
Connecting PayPal to your store (Deprecated)
As an alternative to your online Stripe Wallet you have the option to connect a PayPal account. To add your PayPal email account navigate to click the Settings tab and select payment from the sub-menu. From the payment method dropdown menu select Direct to PayPal.
Transferring money (payouts)
Transfer your balance (earnings) to your bank account in the “Withdraw” tab . Request a withdraw and enter the amount you want to transfer. Minimum balance to issue a payout is $50 USD.
There are of course many other functionality to the store, like monitoring your statistics and browsing through reviews but these are menus are quite intuitive and only for monitoring purpose. You should be all set if you went through the guide up to here. Congrats! Now time for actions, add your themes and share the product links wherever you see fit.
All done!
If you have another question please reach out to us using the contact form.